
Create A Business Account On Facebook, A Facebook Business Page is an open profile designed for companies, organisations, and celebrities to advertise themselves on social media. Facebook Business Pages allow users to engage with and view posts, images, and videos from brands, corporations, and creators they love. To use Facebook Shops, run Facebook advertisements, and access other Facebook Commerce and marketing features, you must have a Facebook Business Page.
Table of Contents
How to create a Facebook Business Page in 11 steps

Choose or create a personal Facebook account
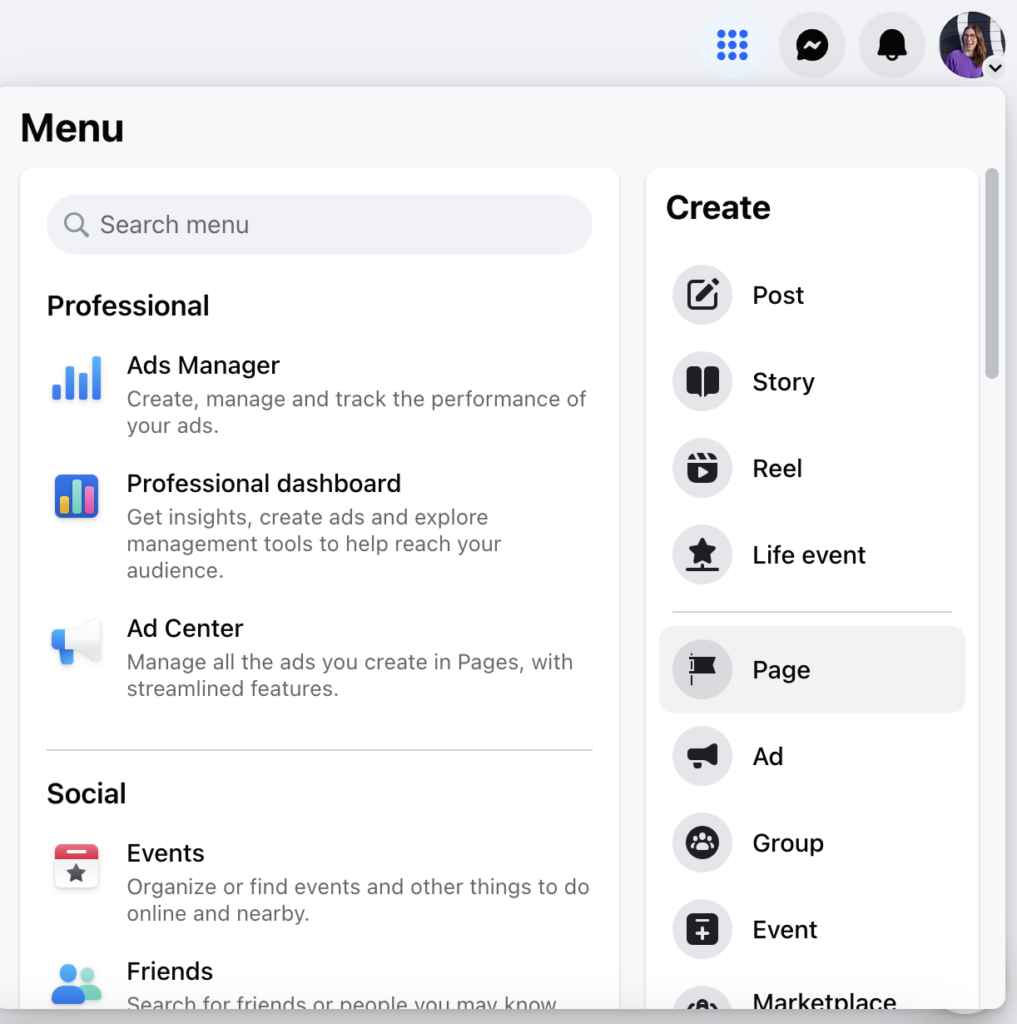
Create A Business Account On Facebook, Facebook profiles and users are not the same as Facebook Business Pages. These are resources under the control of the Page administrator, a user-created account. There can be multiple administrators for a page; more on this later. If you want to completely keep your personal and professional lives apart, you can utilise your personal Facebook account or make a new one using your work email address. After logging into the account of your choice, use the Create a Page link or your Facebook account to access the Pages menu. Select “Create new page” from the pages menu.
Enter your business info.
It’s time to fill out your new Facebook business profile with all the necessary information. First things first: you need to give your page a name. If you’re creating a page for a branch of your coffee empire, for example, you might call it Bean Squeezer Coffee Miami Beach. Alternatively, if you’re creating a page just for updates about the popular Bean Squeezer mascot, you might call it Beanie The Bean Awareness Bean. Lastly, you need to select the category your business falls under: Food & Drink, Media, Footwear Store, Dealer’s Choice, etc.
When you’re prepared to proceed to the next stage, click the blue Create Page button.
Pop in your contact details
In the next stage of setting up your Facebook business profile, you must input your contact details. Enter your email address, phone number, and URL. (Take note that the public will have access to this contact information.) thus ensure that publishing it will not affect you!) At this point, you can provide your actual location, if you have one, and your operation hours, if you have any. Recall that you can add, edit, or remove any of this information at a later time. When you’re prepared to go, press next.
Add visuals and an action button.
It’s time to add some lavish lifestyles. A Facebook Business Page appears best with a profile photo and a cover image, much like a standard personal Facebook profile does. For businesses, using your logo as your profile photo is a smart move. We strongly advise using a picture that visually represents your business because it will appear alongside all of your other Facebook activities (commenting on posts or other postings inside a Messenger discussion).
Invite all your pals to like your Page.
Naturally, as soon as you start putting a lot of effort into making incredible, captivating Facebook content, your following count will increase significantly. However, I believe that everyone must begin somewhere. You’ll have an opportunity to invite your Facebook friends to connect with your Page before you formally make it public. Don’t be afraid to try!
Set your notification preferences.
It makes sense that you would want to know when the activity takes place on your website. You can receive updates about your Facebook Business Page even when you’re logged into your profile by turning on “Page notifications on your profile.” Additionally, you may choose to opt out of receiving marketing and promotional materials as well as Meta goods and services here. Who doesn’t enjoy occasionally receiving a small email?
Once that is configured, click “Done”!
Customise your Facebook Business Page
You have the option to add extra information to let your followers understand who you are by clicking the “Edit details” button. You can add details about your service area (or pronouns) and toggle your contact information on and off. You might include a price range or specifics about the services you provide. To change which sections are shown to the public, select “More” and “Manage sections” from the top menu. For example, if you don’t want everyone to know that you’ve been giving your rivals 0 stars, you may uncheck the box next to “Reviews given.”
Adjust your privacy settings.
Choose Settings and then Privacy from the menu on the left side of the screen. You can adjust your privacy settings as much as you like right here. Would you like people to post anything on your page at random? Do you mind if fans post reviews of your company? You can turn these settings on and off at any moment, but before you go in, consider how comfortable you are.
Link your Instagram page.
It makes sense to link your Instagram Business Page to Facebook if you have one. Everything on both platforms will be under your control in one location, including your Instagram Shopping catalogue. Navigate to Settings and then Linked Accounts to link Facebook and Instagram.
Start posting!
Your objectives: You have established a business page on Facebook. It’s finally time to—surprise!—post some content on it. Just like on your profile, you can publish on a Page. Use text, images, polls, links, sharing, and, if you’re brave enough, going live.